


A paint job for the living room…
10 minute read
August 21, 2020, 11:30 PM
Surprisingly, I never posted about the repainting project that I did in the living room, but better late than never, I suppose.
In any case, I embarked on a massive painting project last fall and winter that transformed the living room and hallways into something that looked the way that I wanted, rather than something that previous owners might have wanted. The project was something that I had planned from the outset upon moving in because, while I didn’t necessarily dislike the color of the living room and the hallways, the paint, depending on the location, was either in poor condition with a lot of old nail holes, or, in the case of the upstairs hallway specifically, never painted well to begin with. So rather than try to match the color, it made far more sense to just repaint the whole thing in a new color of my choosing.
In planning this project, I had to figure out how to make my living room look its best. My living room is long and narrow, and only has one window at the front. So most of the lighting would come from artificial sources, such as the overhead lights and the lamp. I ultimately decided to go with a sunnier color than what was there before on three sides, and then I also put a dark blue accent wall on the left side. That left wall is completely blank, which made it a good candidate for an accent color, since I could do just about anything that I wanted with it as far as furniture arrangement and decor went. I extended the new color up and down the stairs, since I found the transition between the tan living room and white stairs to be a bit jarring. Extending the living room color up the stairs and down to the basement just made sense.
Here is the way that the living room looked before I started changing things, seen here in file photos:

The living room on the day that we moved in, November 16, 2017.

The dining side of the living room on July 31, 2018, after we put a new area rug down and bought some unfinished furniture.
As you can see, it wasn’t a bad color by any means. That I went almost two years without changing it speaks to that. The basement rooms were the first things that I painted, because those colors were terrible. But for here, despite the inoffensive color, if I had to go to the trouble of trying to match a color to repair nail holes and such, I might as well just pick a color that I will have documentation of and do the paint over again. In doing the repainting, I first started with the ceilings. I bought a can of special ceiling paint for that, which went on pink and then dried white:


It definitely felt strange putting a pink paint on the ceiling, but it did dry pure white. It also wasn’t afraid to make it known that it was paint, because this was the only paint that I’ve used on the house that really “smelled like paint”. Just doing one side of the living room made the entire house smell like paint for days. That was a surprise, but it wasn’t the worst smell in the world, since I associate it with things that are fresh and new.
After completing the ceiling on one side of the living room, I did the walls in the same area:


This stage did a random wall in the kitchen that uses the living room color, the entrance to the kitchen on both sides, and the entire right-side wall of the living room and just past the front door. I went with a yellow color, which is a lot brighter than before.
After I did this, I started working on the basement stairs and hallway. I did this work early on in the project for Elyse, because the changes in her part of the house caused her a lot of stress. So the plan was to get it done and over with quickly so that the new baseline would be established and she could move on.
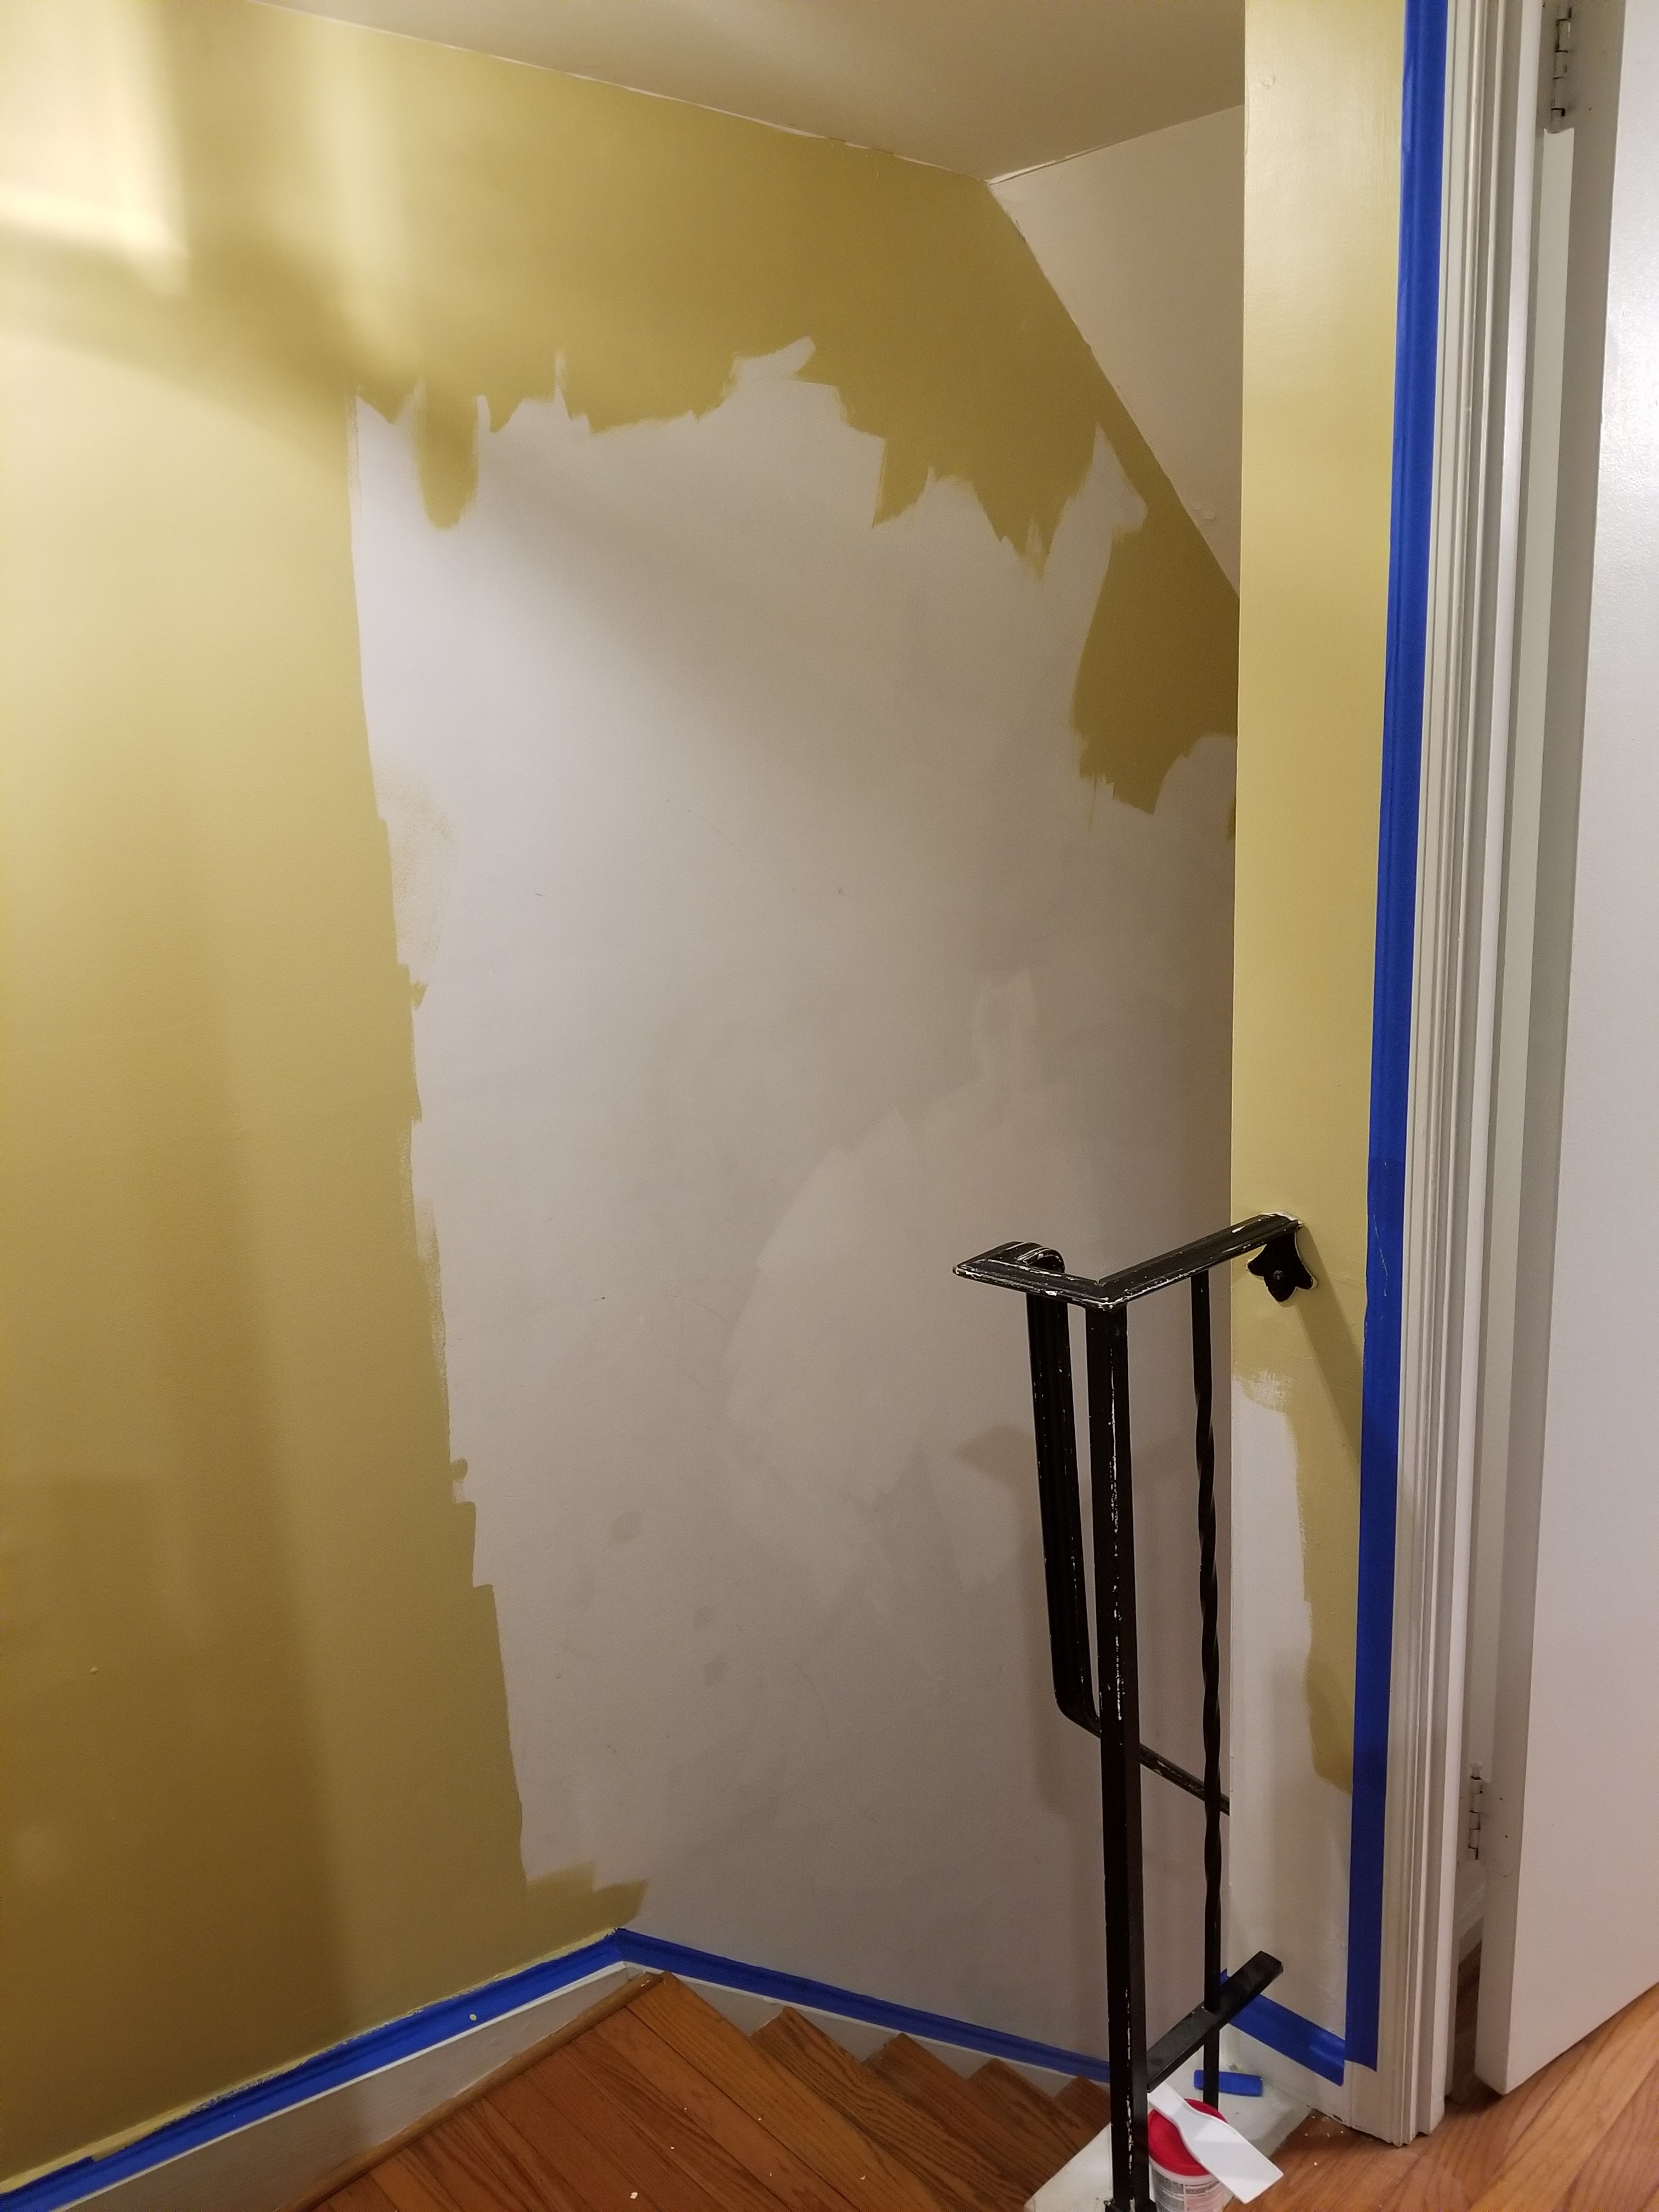
First, the ceiling:


This vertical section along the ceiling of the basement stairs was a question for Elyse and me. We debated whether or not this should be painted as part of the wall or as part of the ceiling. When I did the ceiling, we hadn’t settled on what it would be, so I painted it with the ceiling paint in case we decided to go with that. We ultimately decided that since it was vertical, it was a wall, which was probably a good decision, because I tend to put my hand on that section as I’m coming down the stairs, and the wall paint is darker and glossier than the ceiling paint, which is very white and very flat.
Then I edged around the doors:

And the finished product:


Seeing the finished product, I was concerned that the stairs looked too dark, but if you have the lights on upstairs, it isn’t too bad. I would like to eventually add another can light at the top of the stairs, but that’s for another day, since I would need to hire out for that.
After that, I moved back to the living room, and did the area around the couch:


This area was another reason that I opted to repaint. This mark was on the wall when I moved in:

That is a mark from the previous owner’s couch, which I believe had a chaise attached to it. I was glad to finally paint out that mark.
At this point, I took about a month off of the painting project in order to have my sleeve surgery. So with the project halfway complete, it sat while I recovered from surgery. I resumed just before Christmas, working on the “dining” part of the living room:

Painting the rest of the living room ceiling.

Painting the last of the yellow in the living room. The side wall is taped in preparation for applying the accent color.
The accent color turned out to be more of a challenge than I thought. When I went to start painting, I discovered that my paint was no longer paintable:

This is what it looked like when I tried to paint with it. As I later found out, my paint had frozen at some point, which led to this problem. I kept all of the paint cans in the living room during this project, which I thought was fine, but apparently, I have a very cold corner of the room. This was also the only can that this happened to. Go figure. So I had to replace that can. I also took the opportunity to modify the shade of blue slightly, which seemed to work out for the better.

After seeing the earlier result, once it dried, I painted it out with the ceiling paint. I suppose that I did that in order to ensure that there would be no chance that the wrong color would show through in the final result.
But after I got the paint, the accent wall went on pretty quickly. The first phase was the dining area:


Not a bad looking color. The blue complements the yellow nicely. However, I did run into something that I was not expecting: I needed to do two coats to get proper coverage. So I went over it again:

Much better. I then pivoted to the rest of the accent wall:

Taped and ready to go.

This was a moment that I had been waiting for: the last swath of the old color, ready to be painted over. After I did this, the old living room color was finally extinct.


The first coat on the rest of the accent wall is complete.


The accent wall is complete. Not a bad way to finish out 2019.
And on New Year’s Day, the living room was put back together:


Not a bad look. Those curtains are new, and are the same style as I hung in my bedroom. I also eventually got a new tablecloth to match the accent color, though that was not yet in place at the time that I took these photos. I also decided to test how the bookshelf looked in the center as something of a room divider and display case. I decided that I didn’t like it, but it would take a while before I changed it. I eventually got a purpose-built glass display case from IKEA for this purpose.
And this was the surprise of the day:

I found a large plastic spoon, likely part of a pail and shovel set for kids to dig with, in one of the air ducts that feeds the living room. I can only assume that someone’s child dropped it in there at point point, but regardless, Elyse decided to use it, and after we ran it through the dishwasher, she used it as a scoop for powdered drink mix.
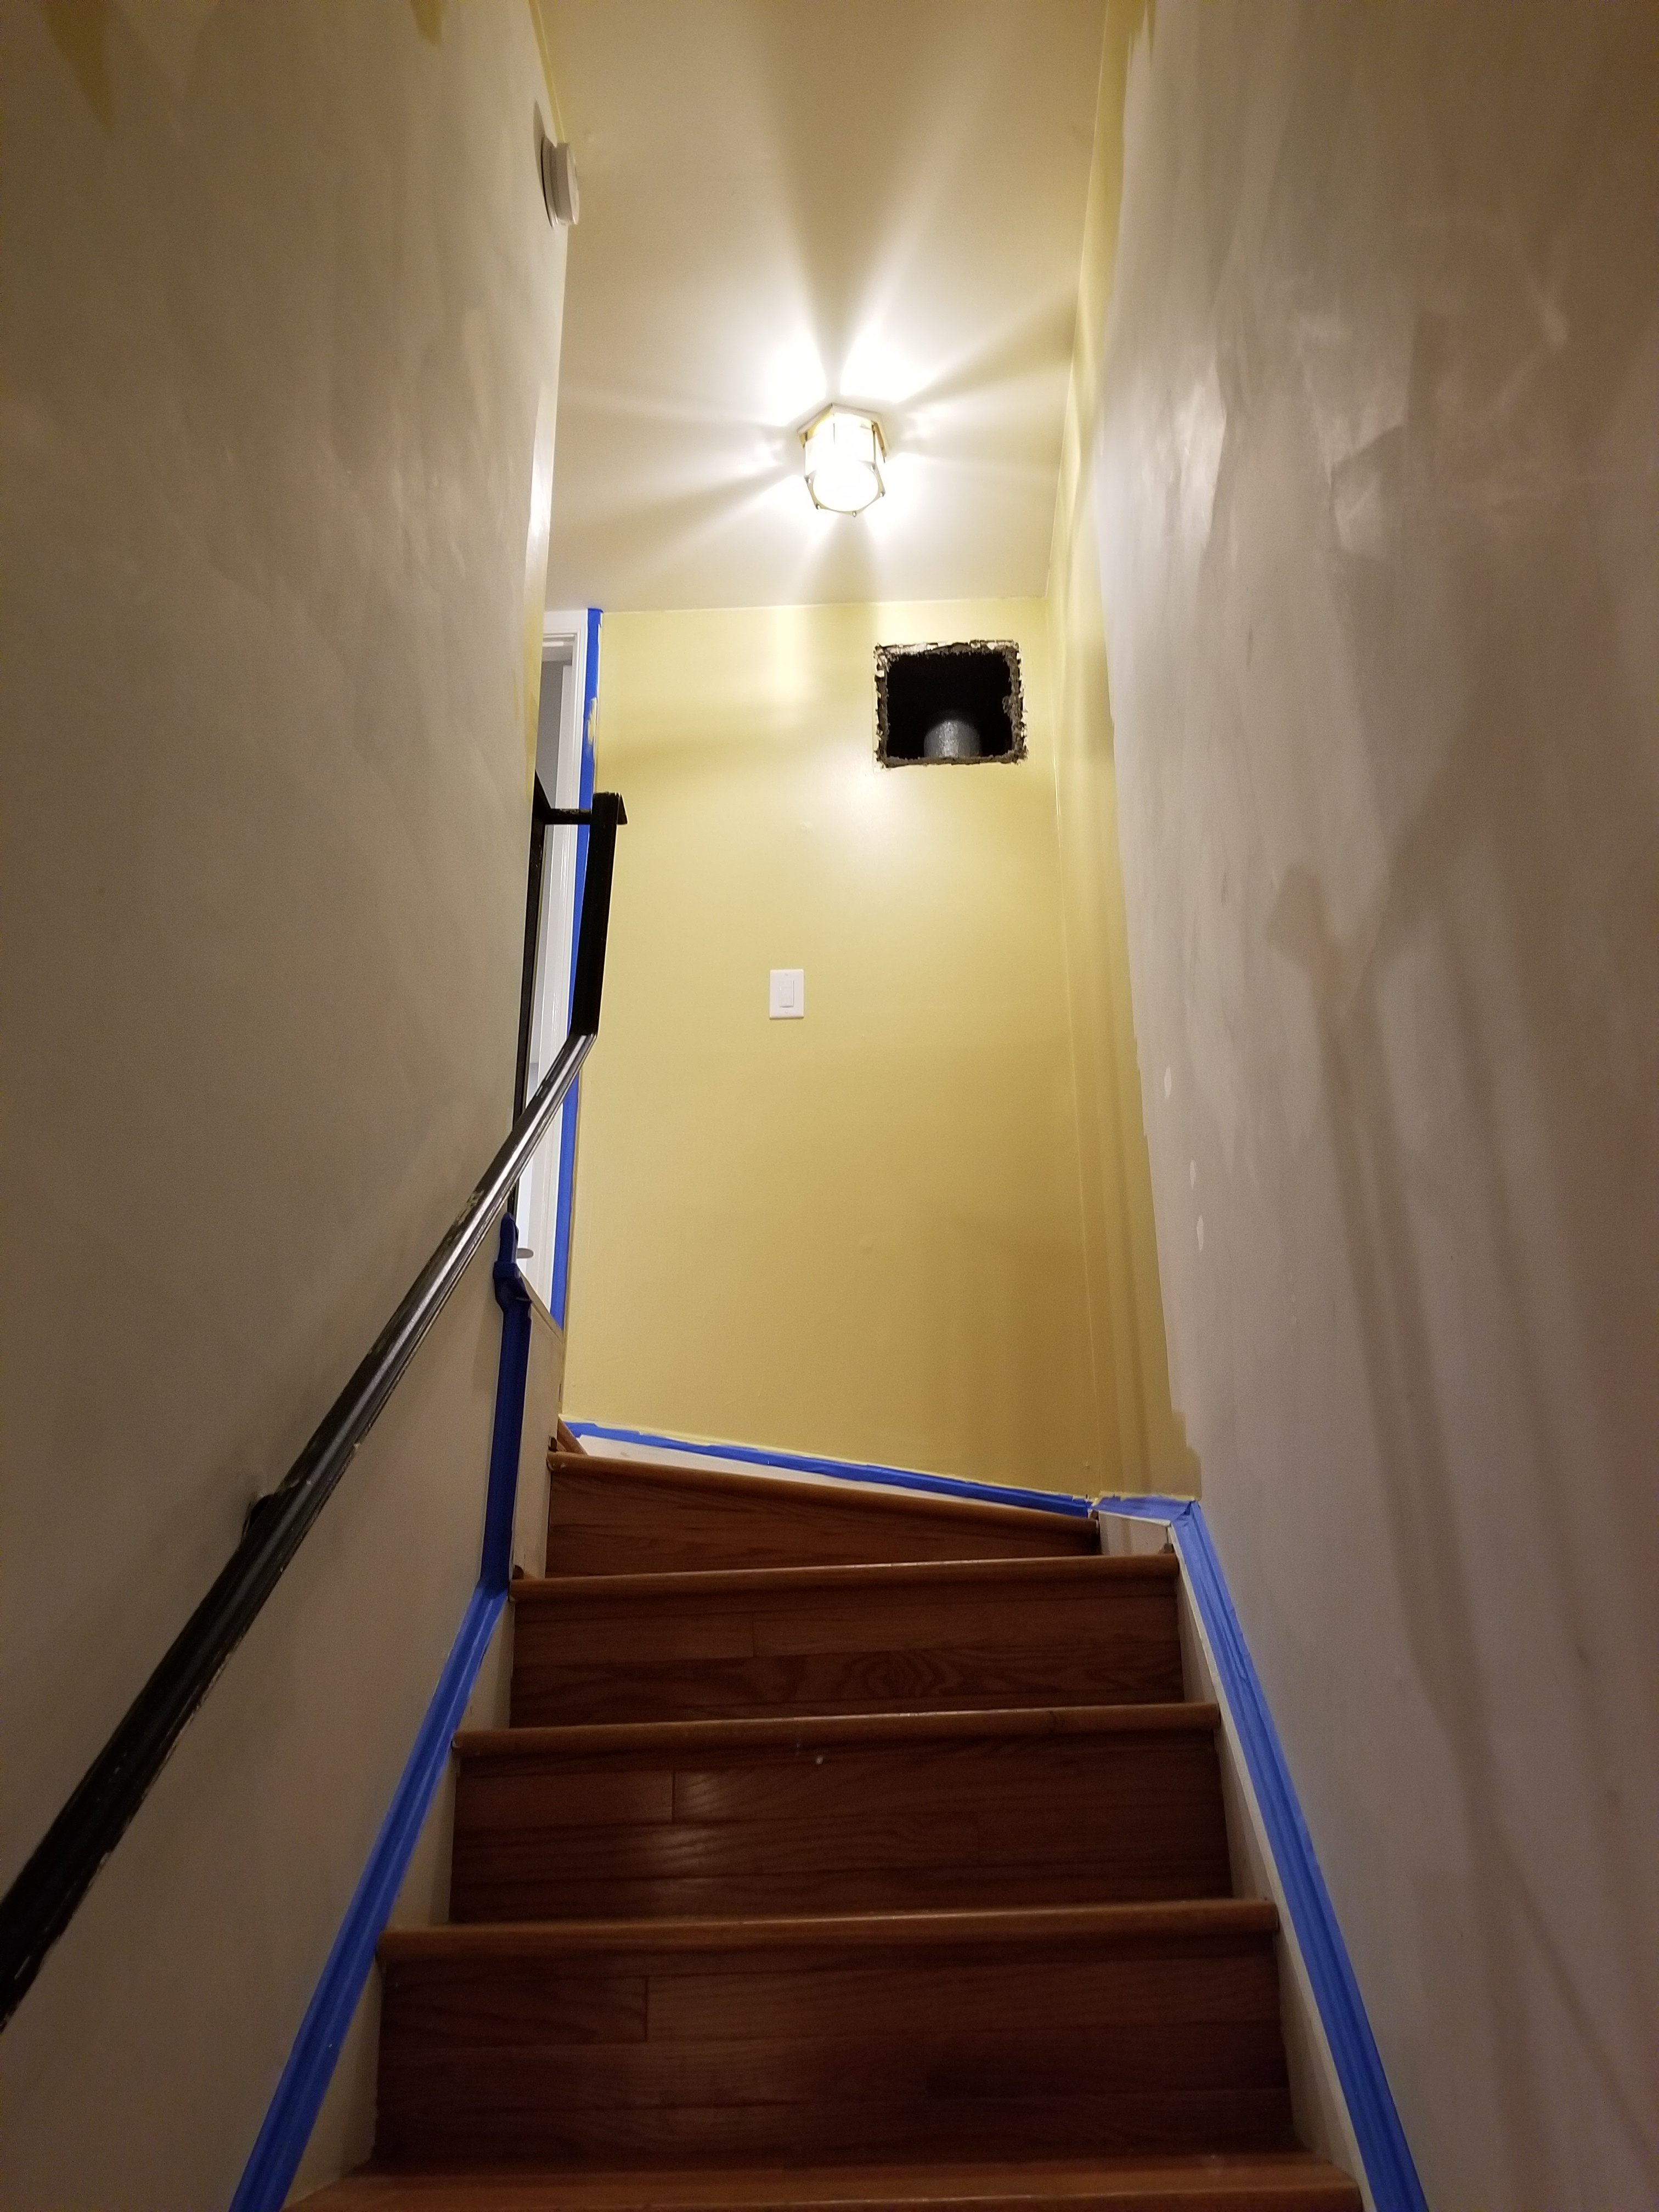
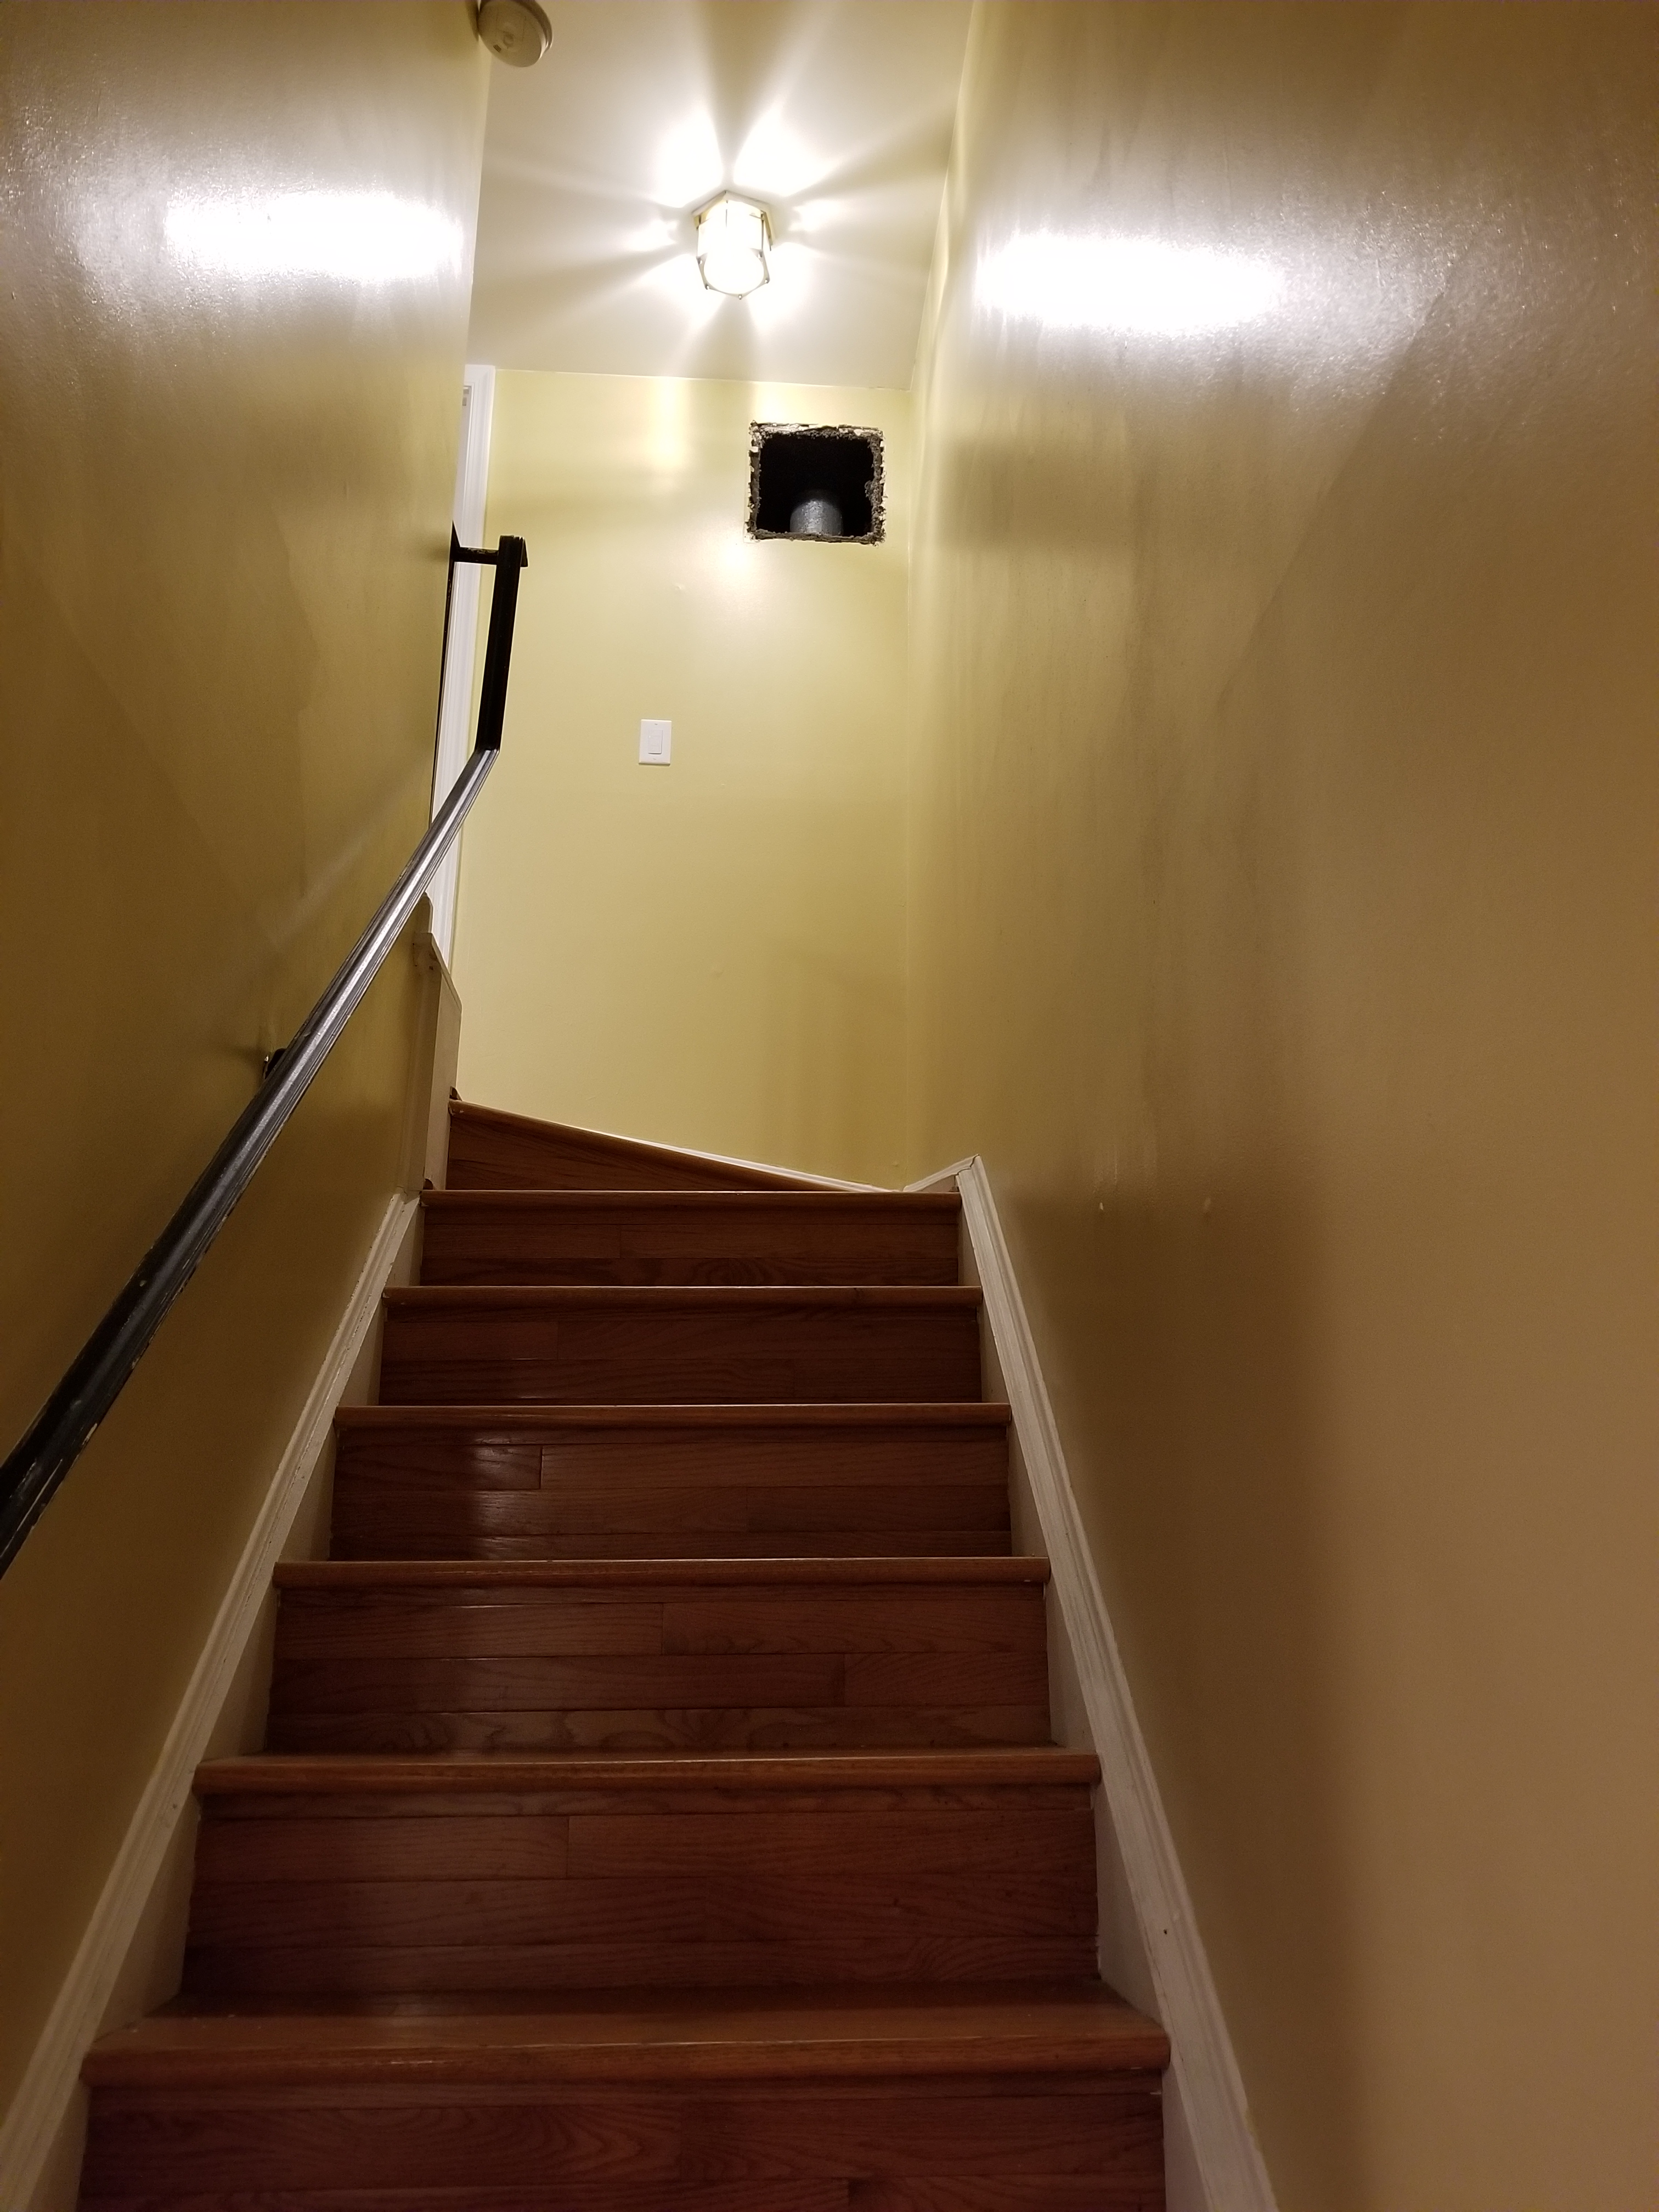
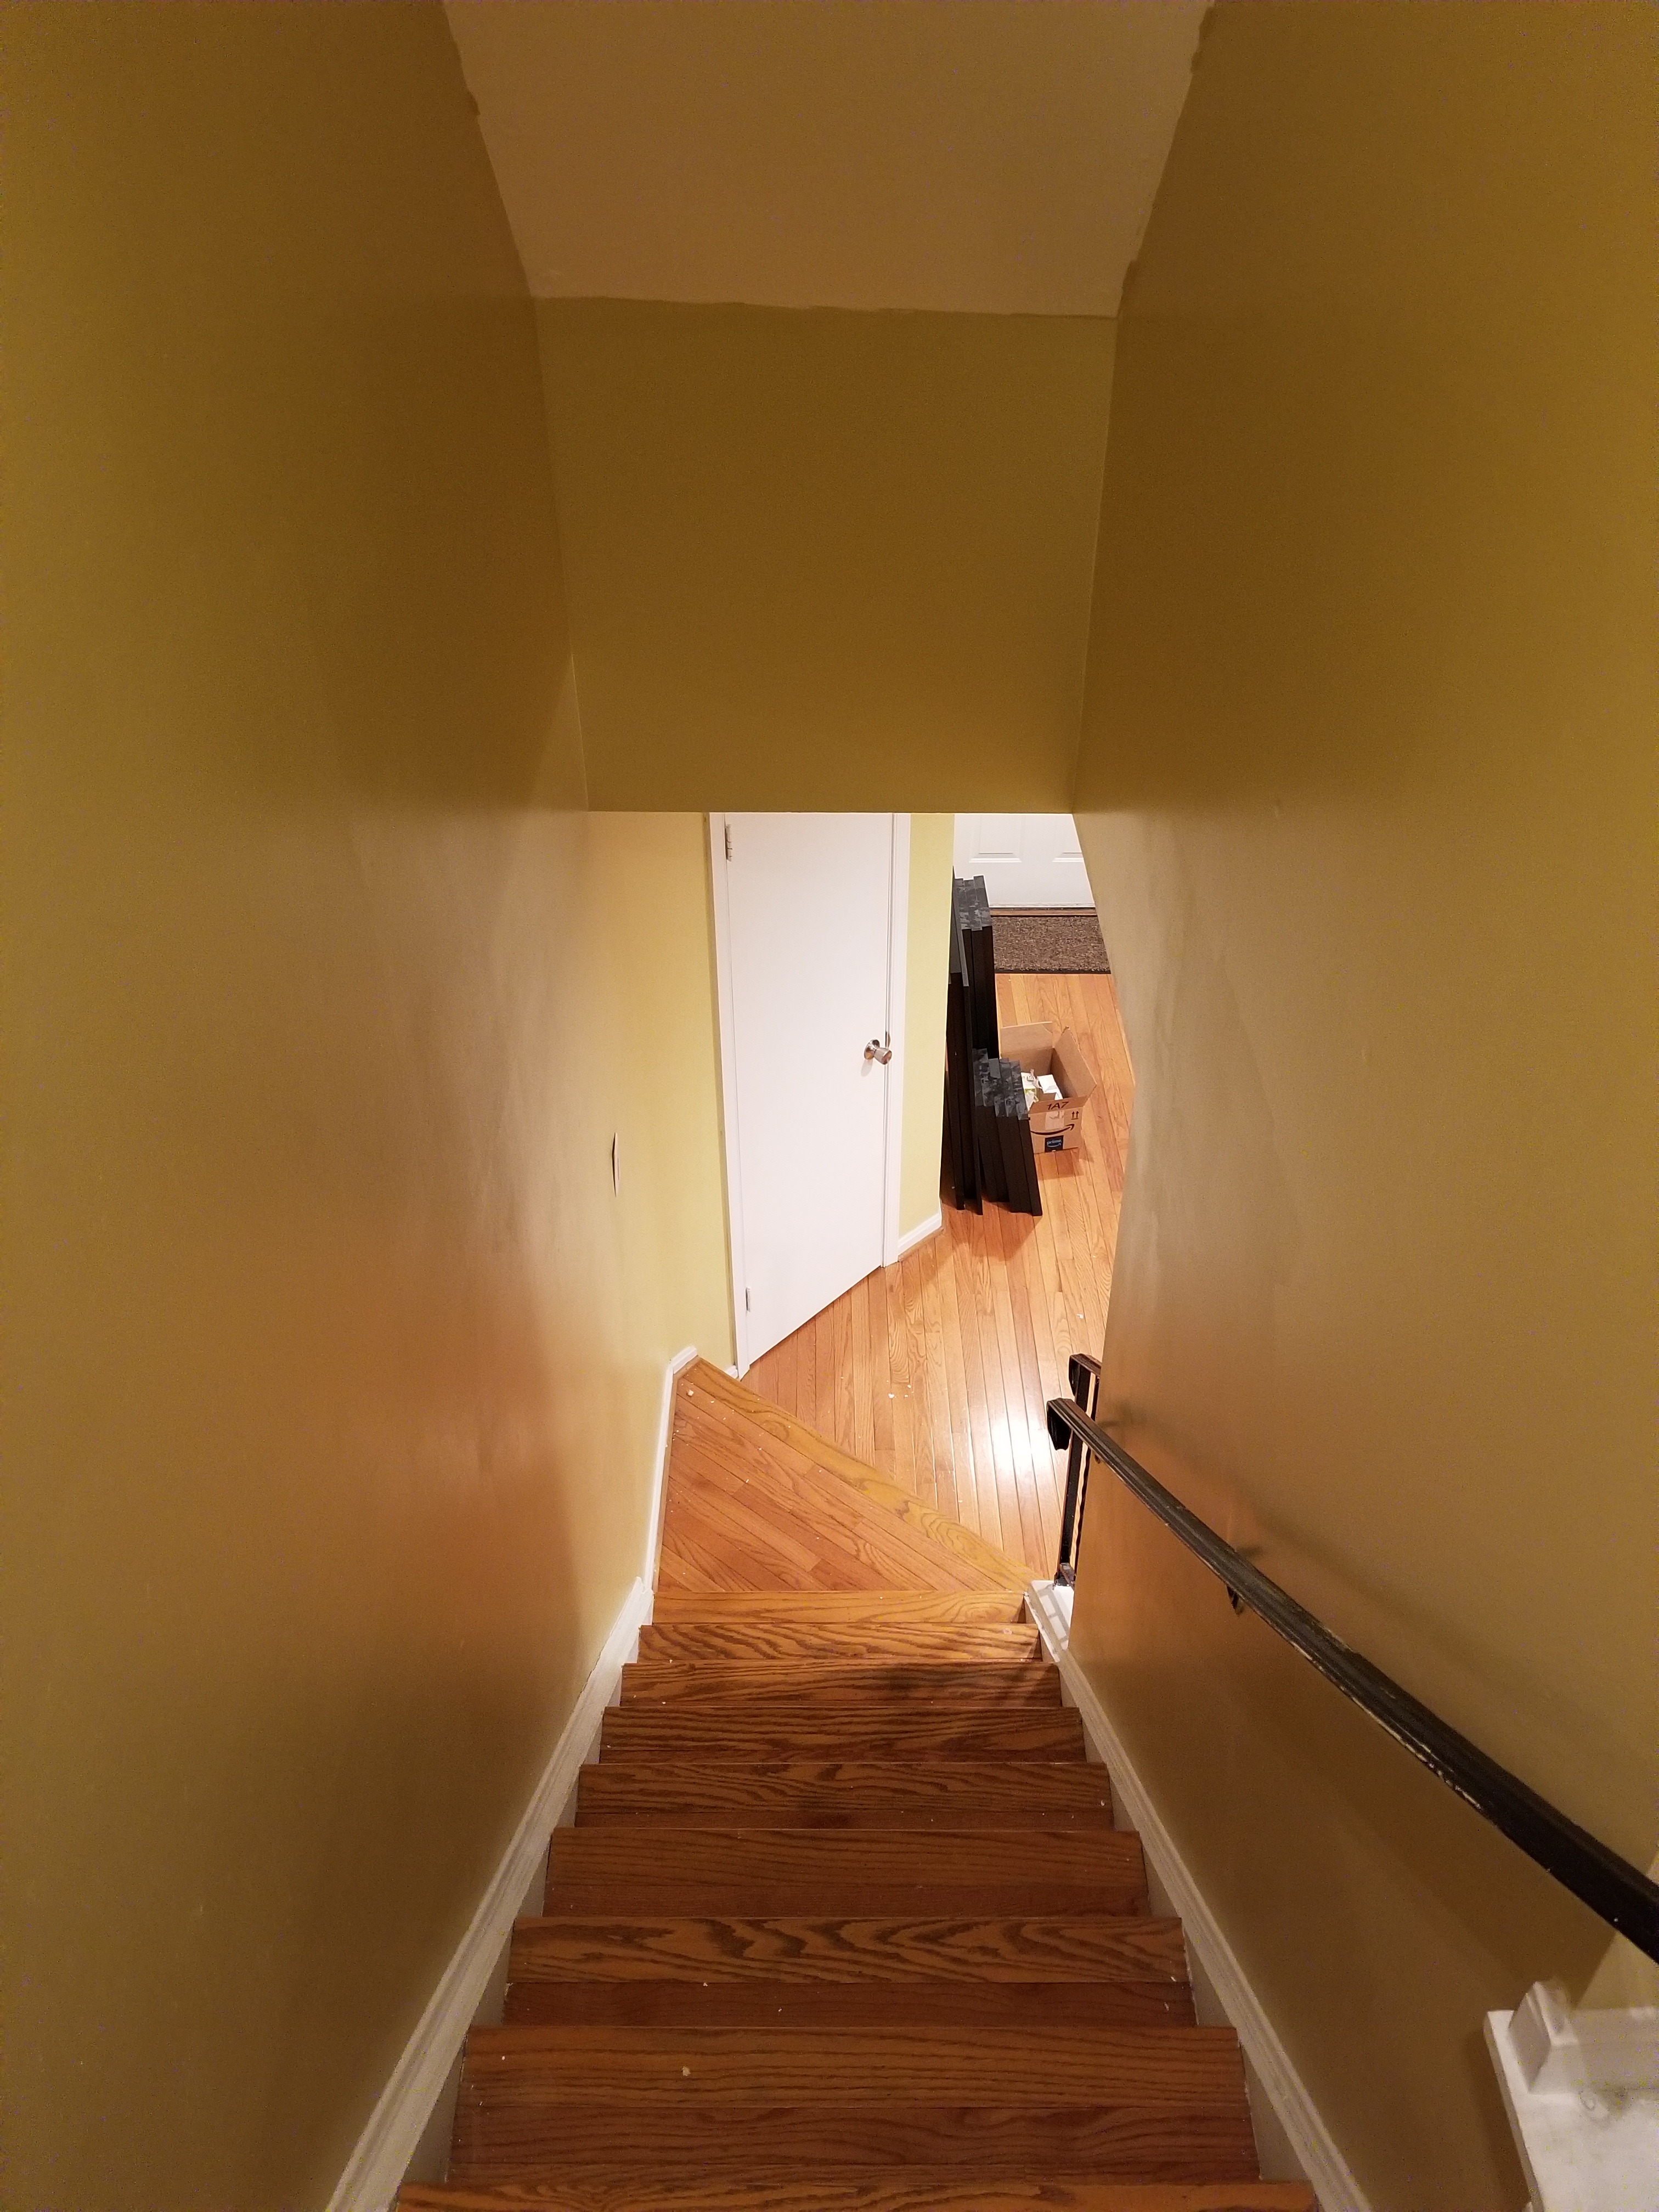
And with the living room completed, I turned to the stairs up to the second floor. That was not a fun undertaking, because it involved relatively high ceilings, meaning that I had to break out the extension poles in order to reach. It was a challenge, but I managed. But before I started painting, I documented the poor paint job that existed in the stairway before. Check this out:

With the exception of those bright white spots in the bottom corners, which are from my earlier paintwork, this is the paint job that I inherited from the previous owner. The thing that blew my mind was that someone did that crappy paint job, and someone thought that quality of work was acceptable. I didn’t like it. It had to go. So first I taped it:

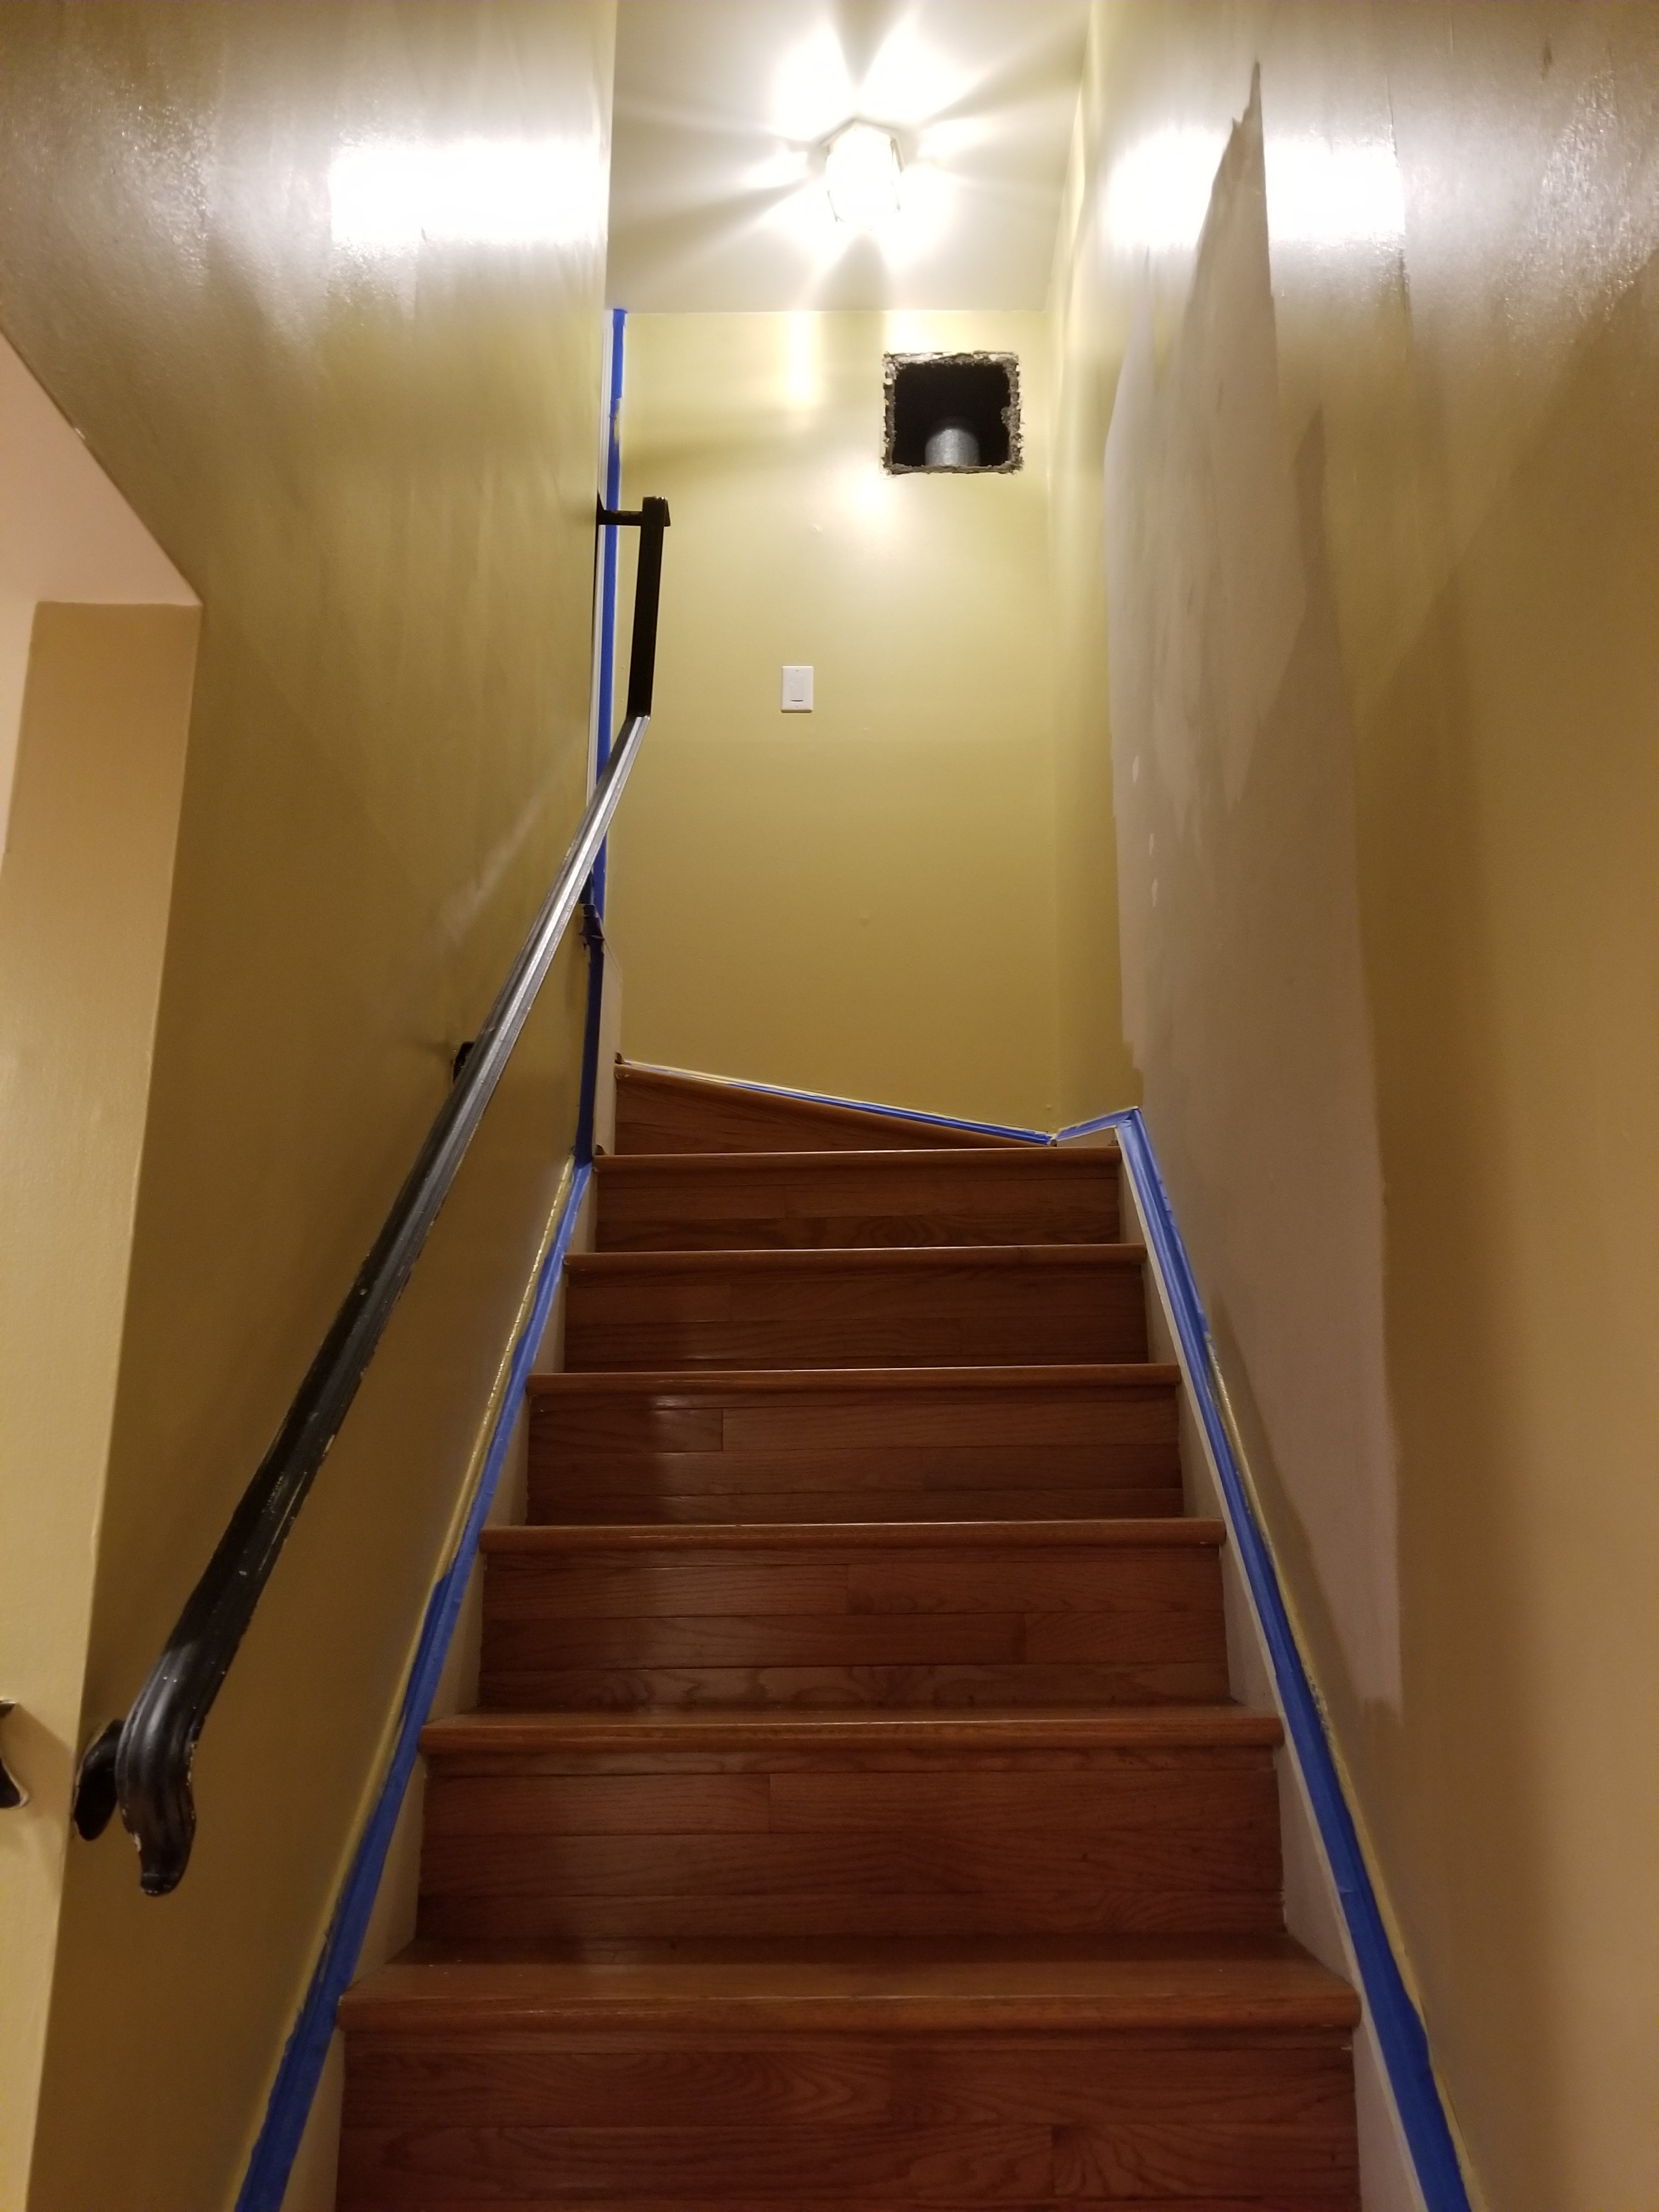
And then I started to paint:

And finally, on January 30, it was done:
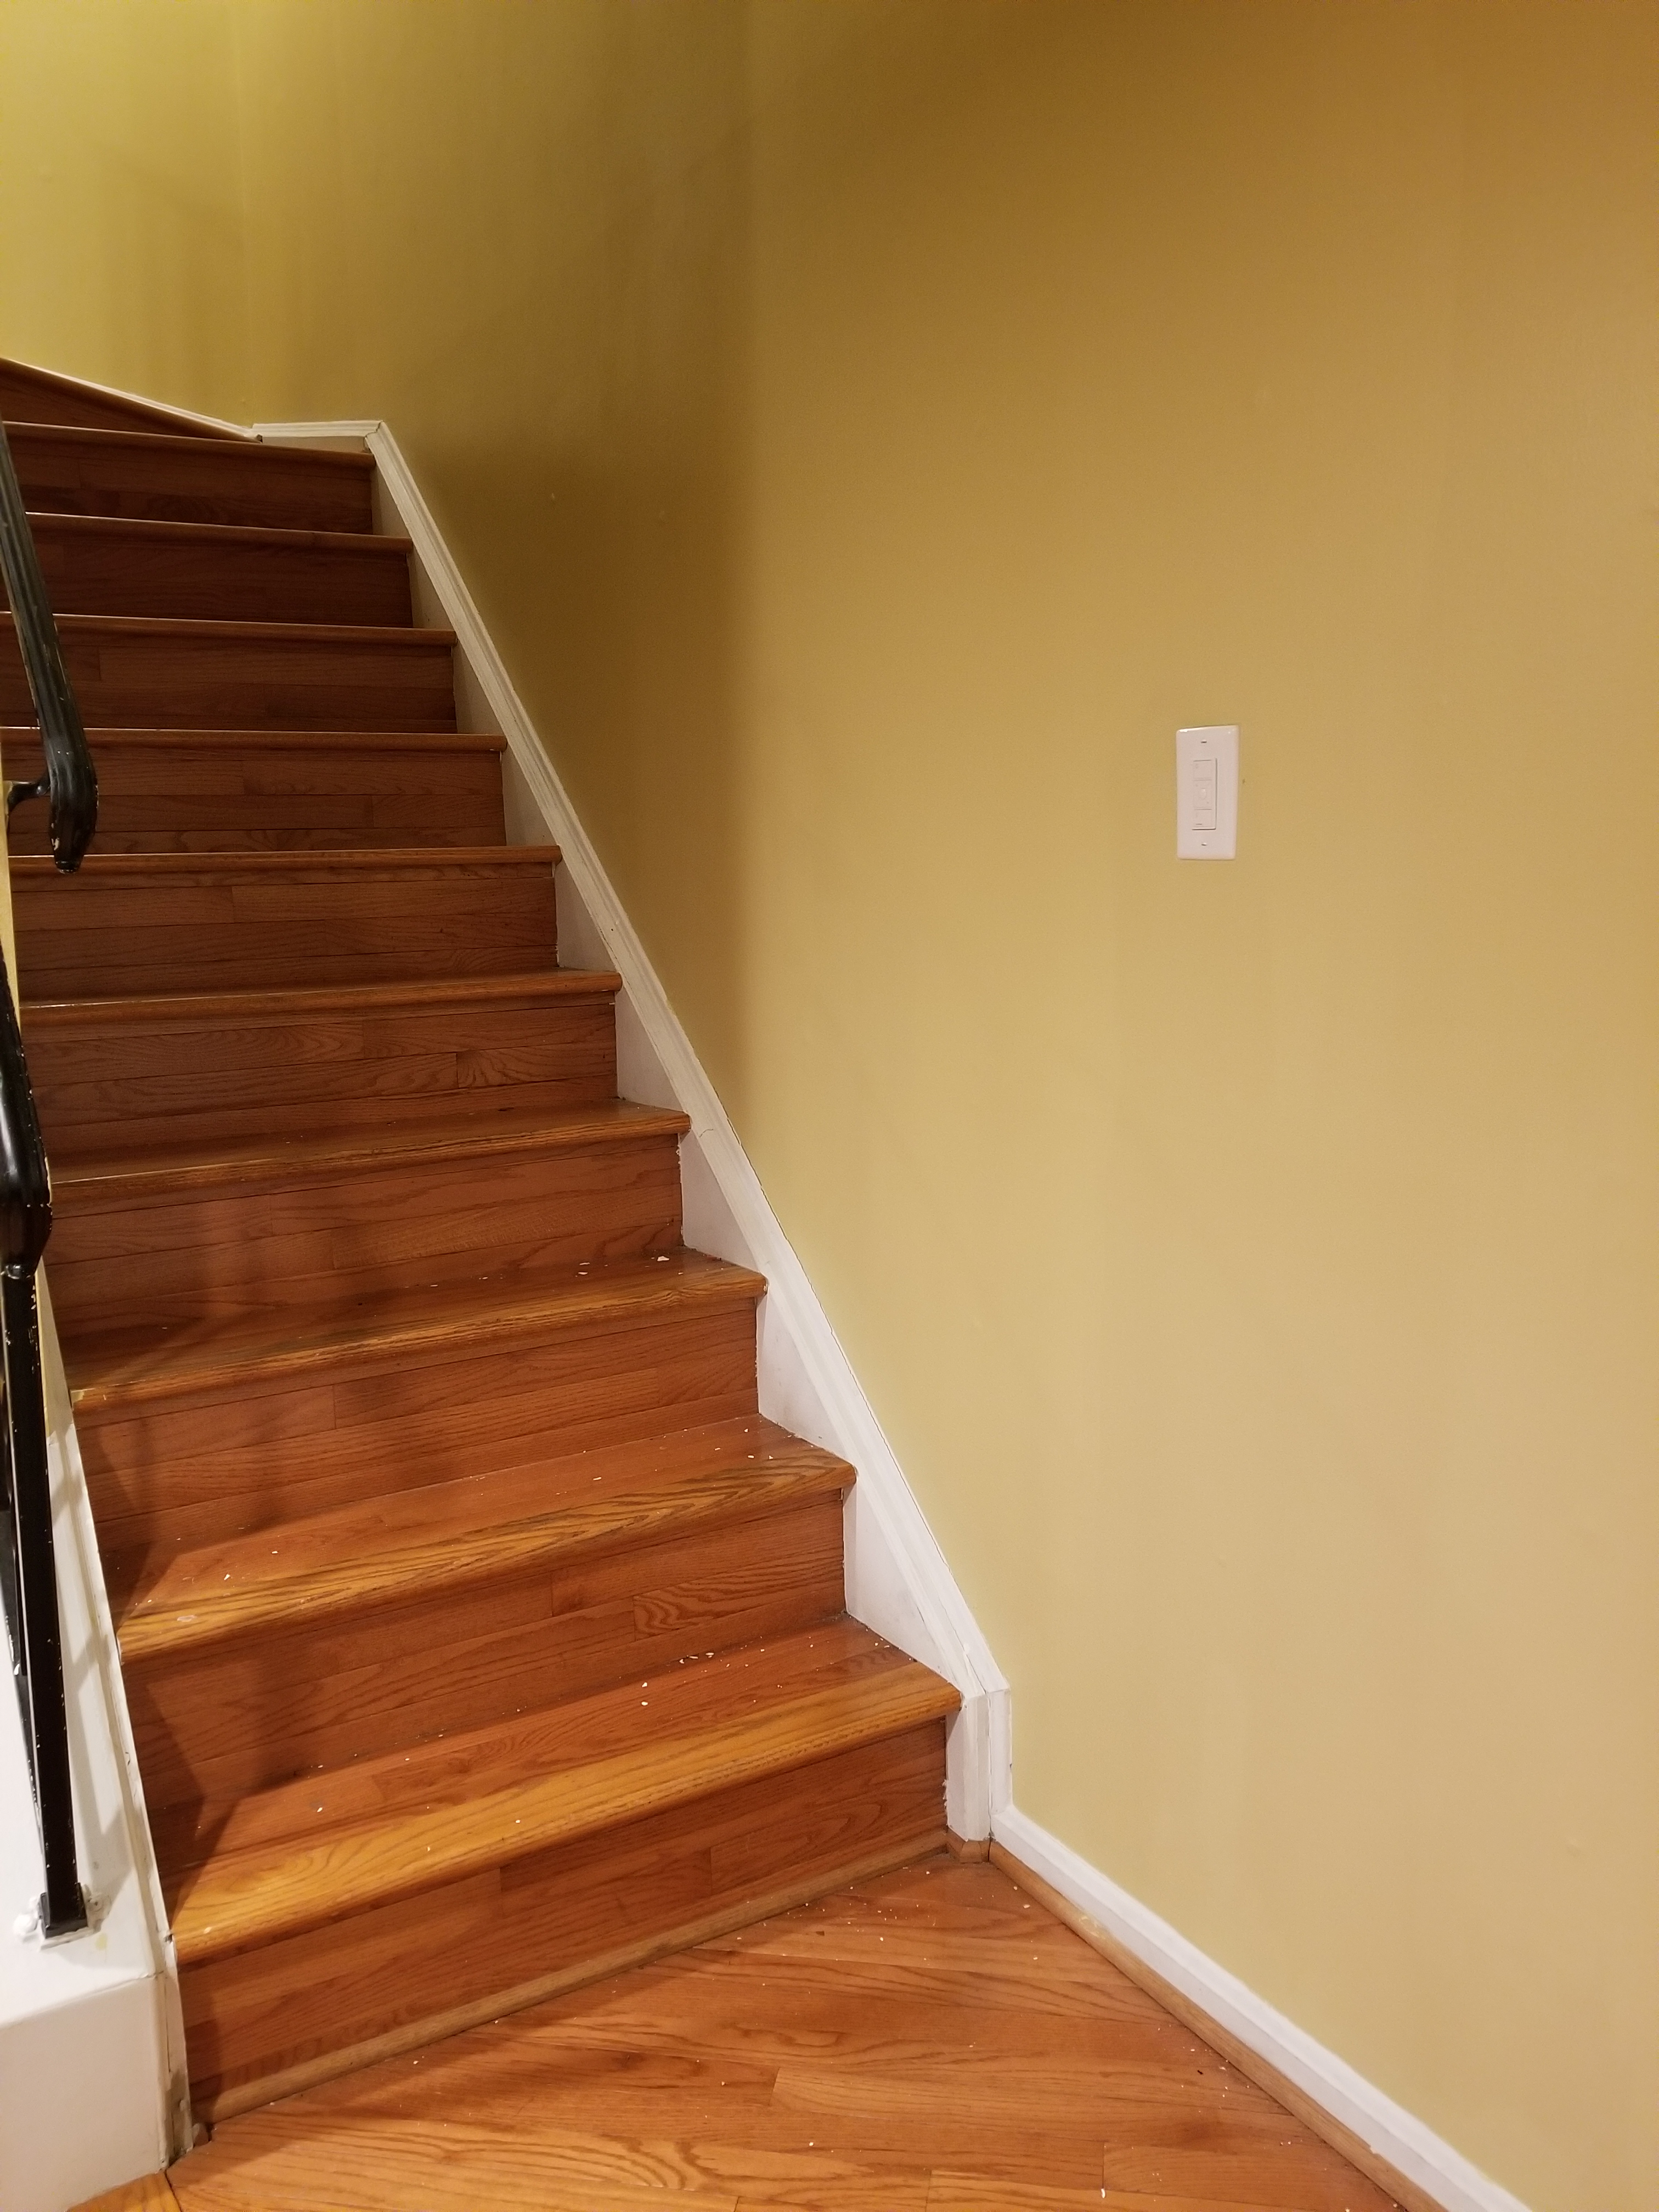

You don’t know how happy I was to finally be done with this. I started this project on October 8, and finished on January 30. That meant that for nearly four months, there was a home improvement project in a noticeably incomplete state. But now I can decorate the living room, but because of a number of factors, I have not completed that project yet.
Meanwhile, with the completion of this project, it means that I have repainted the entire house except for the master suite, the upstairs bathroom, and the back bedroom. I do eventually want to paint the two upstairs bedrooms, but due to the high vaulted ceilings in those rooms, I will hire professionals to complete that work. And the master bath doesn’t need to be repainted, because it has an inoffensive paint job in good condition. Though if I did paint it, I could do it in a few hours.
Next project will probably be to install better smoke alarms, as well as replace the exhaust fans on all three bathrooms with something quieter.
Categories: House, Montgomery Village