


Two projects completed…
7 minute read
April 22, 2018, 1:44 PM
I always enjoy that feeling of accomplishment. I recently had a vacation from work, and knocked out two home improvement projects: counter-height chairs for the kitchen, and painting Elyse’s bathroom. Both of these were long in progress, and several days off of work meant that I could finally complete them.
The kitchen project probably had the most impact on me. Since moving in, Elyse and I had been using chairs that were the wrong height:

I had gotten used to using these chairs, but when I’m seated, the counter is at my chest, which makes me feel like an oversized child. I bought two chairs from the unfinished furniture store, and they arrived in early March. They took about five weeks to arrive, ahead of the store’s estimated delivery schedule. They also gave me a picture frame of the same wood type for free in order to test the stain before doing the chairs. I asked if they had some scrap wood of the same type that I could test on, and they delivered. The fact that it’s a whole picture frame means that it might be useful for something later on. In any case, I did pretty well with the staining. First, I did a side-by-side test with a small section of toe board left over after I completed that project:

I think that we have a winner. The best match was also a stain and polyurethane combo product, which saved me a step. Plus, unlike the straight stains, this product was water-based, which made cleanup easier.
Then I tested it on the picture frame, and held it up to the cabinets for comparison:

Seems to work. With the color testing complete, it was time to attack the chairs. I did a small section on the underside of one of the chairs, and that passed, and so I was ready to go. I did the first coat of stain on the first chair all in one night:

Not too shabby. I did, however, make a few rookie mistakes. I did the top first, and then flipped it over to do the rest. I ended up with a few drips going towards the top of the chair, and also got a big stain spot and a longish drip where the plastic bag that I was using to protect the counter made contact with part of the back of the chair. Okay. I ended up sanding those areas back down to the bare wood, and did those areas again. Here’s a closeup of the big stain spot after I worked to remediate it:

It’s not perfect, but it’s at least smooth again, and looks more like something in the wood rather than a staining mistake. I could live with that.
Then after my repair to the first coat had a chance to dry, I sanded it all with fine grit sandpaper in order to smooth out any remaining roughness:


(That dark spot on the underside is not a mistake. That was the earlier test area.)
I certainly appreciated being able to do this out on the deck. The weather was perfect for outdoor sanding. Then the second coat went on a few days later, and it didn’t look too bad:

Not too shabby. Once that dried, I put felt pads on the feet, and that was that. Here’s the completed first chair next to the second chair, still in its original, unfinished state:

Not bad, if I do say so myself. I followed the same process for the second chair, being more careful with the stain to ensure that I didn’t get any drips or spots.

Second chair, partway through the first coat.
And this is the finished product:

The first chair that I did is on the left, and the second chair is on the right. I was a little more liberal with the stain on the second chair, and that led to a slightly darker finish. I’m okay with that, because I did it myself, and it was done with love. And considering that Elyse immediately laid claim to the darker chair, we now have “our” chairs in the kitchen.
And here they are in place:

I like it. All I have left to do is get some seat pads, and I’ll do that the next time I go to IKEA.
The painting project, meanwhile, was my first paint job since doing my bedroom at my parents’ house in 2004. It went well enough. When I got the house, I thought that the color in the basement bathroom was far too dark. Here’s a photo from the day before move-in:

There was white tile up to about waist height, and then the walls were dark blue. I liked the white tile, and I had no plans to change that. The walls, however, were entirely too dark for that white tile. Additionally, if you look at the right wall, there is evidence that liquid had run down the wall. We soon discovered that the liquid was leaching out of the paint. Whenever Elyse took a shower, it reappeared. Our original intent was to seal it up with a new paint job, but when I checked a rough spot in the paint with my nail, I was surprised to find that we were able to peel off large sections of that paint:

I was surprised at how easily it came off. We were able to peel away most of that blue paint, revealing a white wall in mostly good condition. Apparently, that blue was just an exceptionally bad paint job. The leaching problem went away with the old paint. I ended up skim coating the areas where the remaining blue paint that we couldn’t get rid of met the plain wall. Sanding that made so much dust, and it went everywhere. Here’s what it looked like in the hallway outside the bathroom:
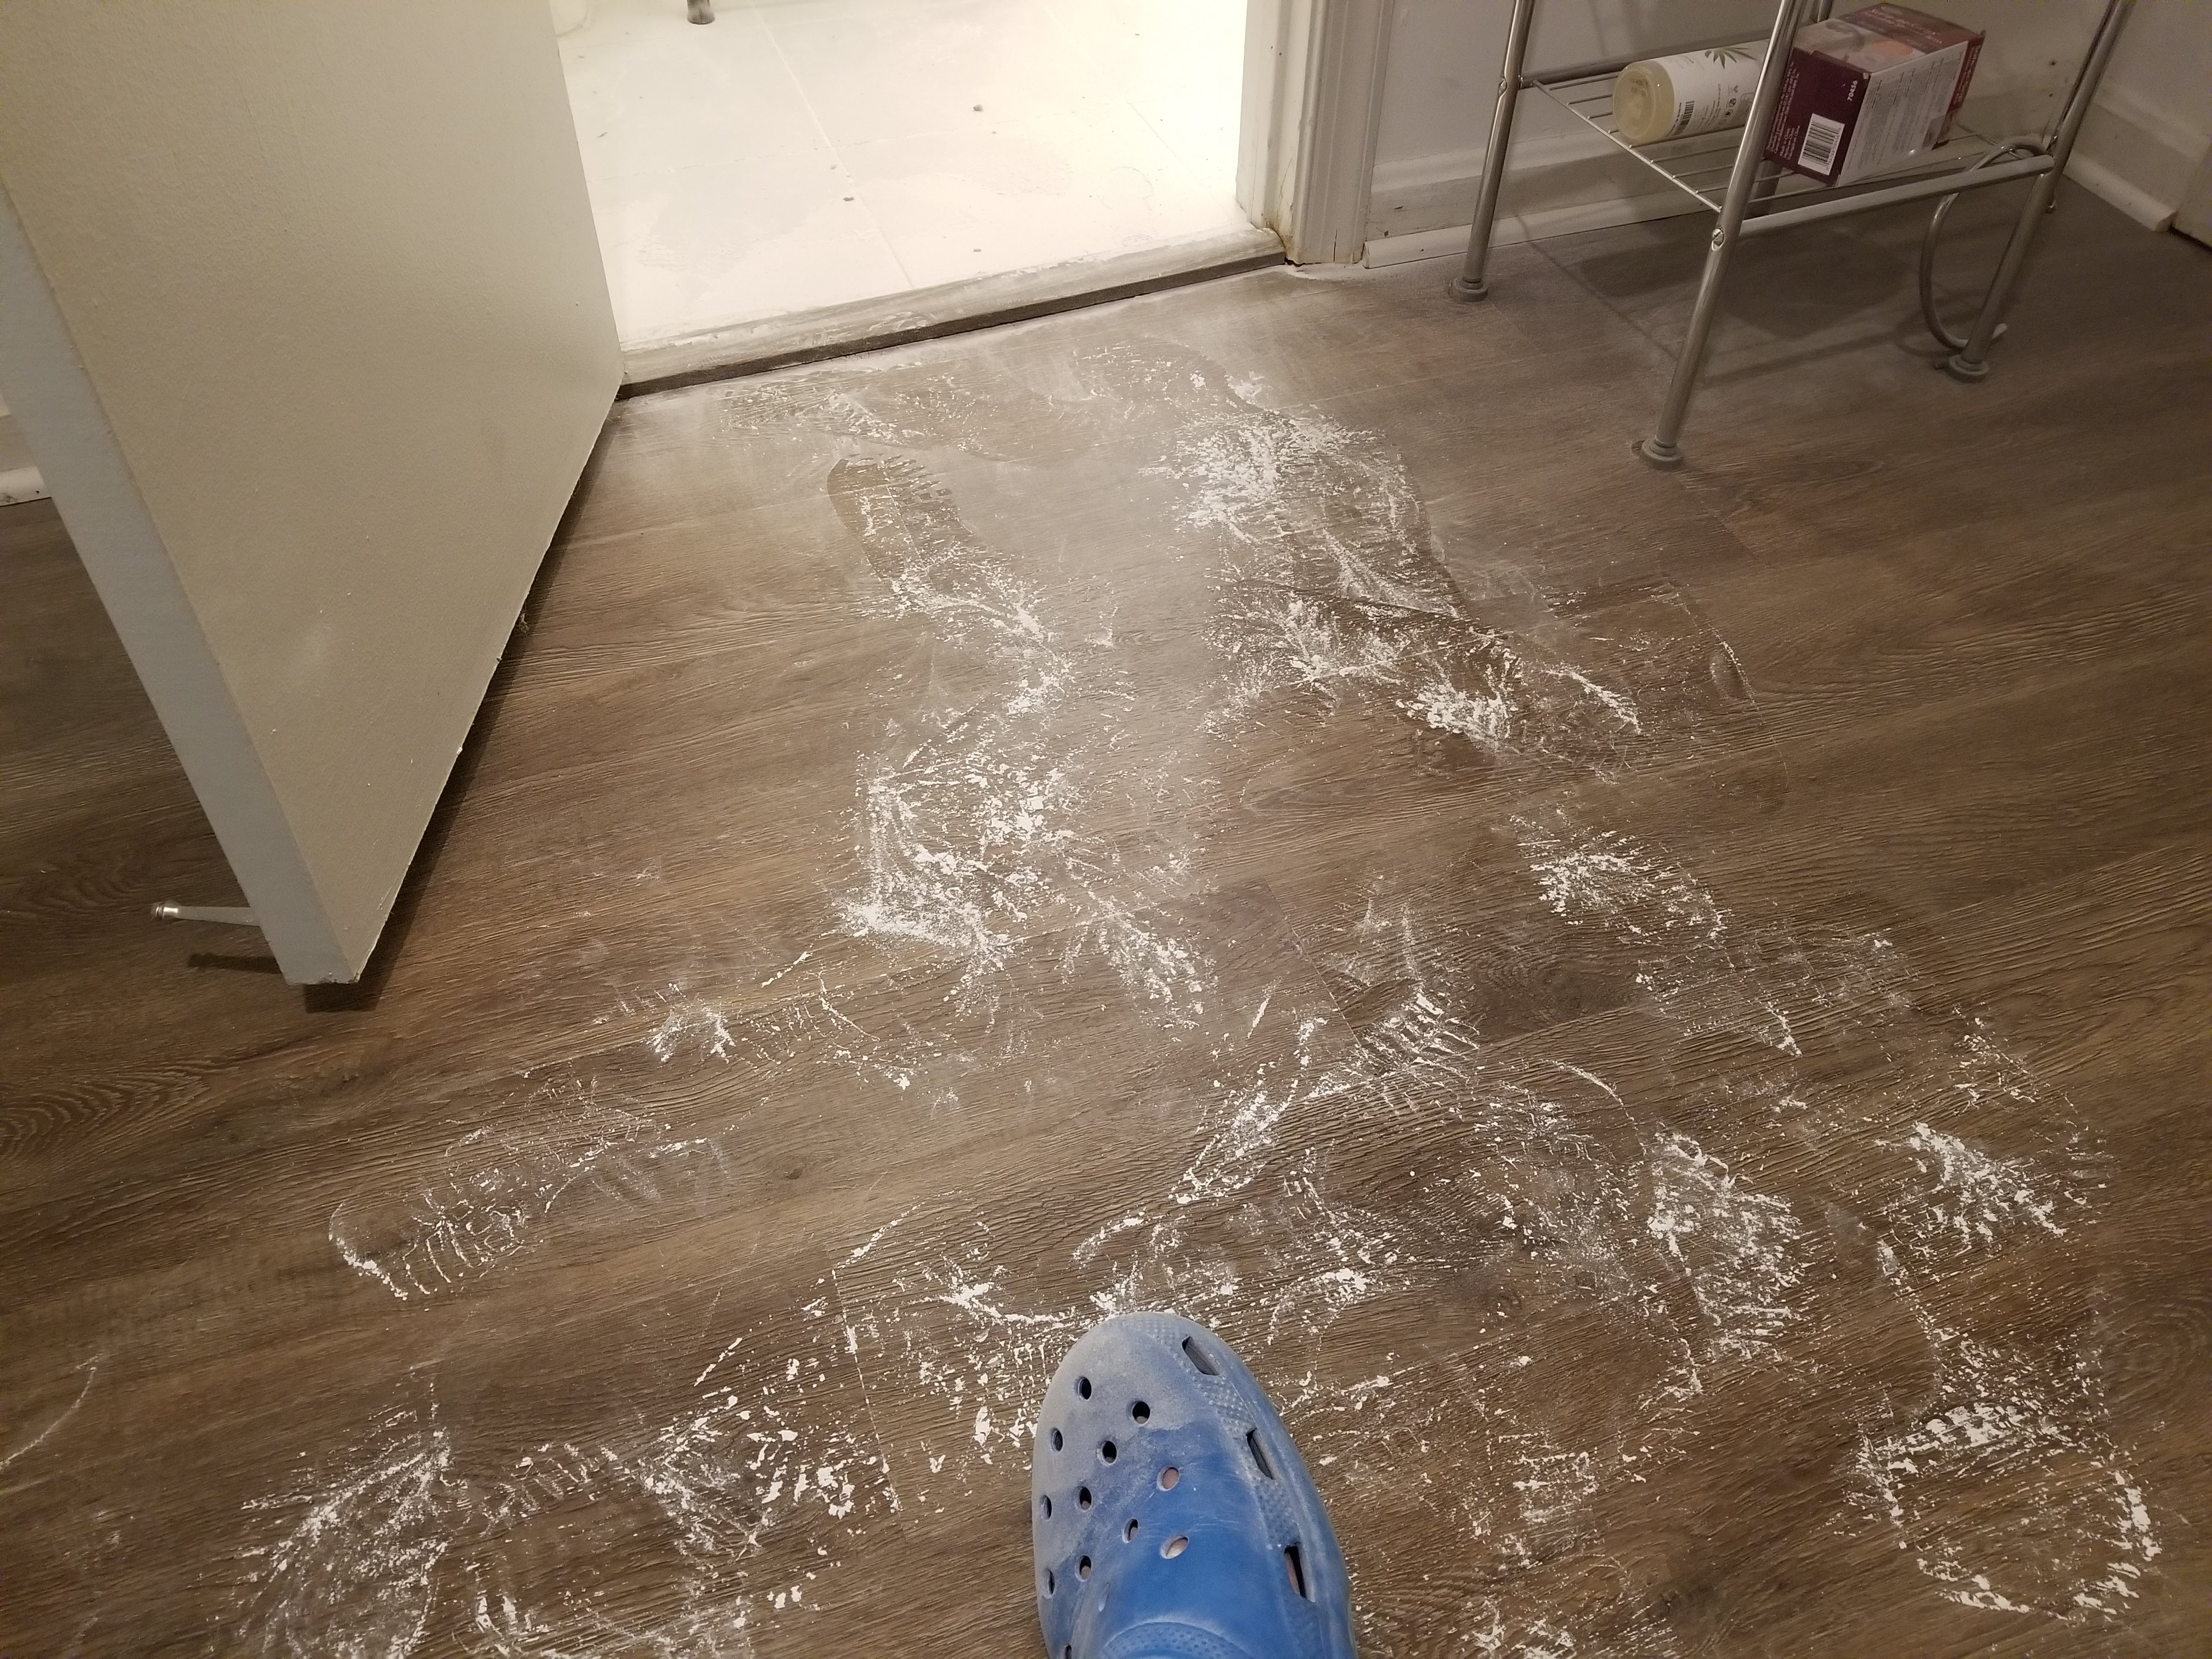
I was covered in it, and tracked it all over the basement. Some dust even went under the door into Elyse’s room. So much cleaning afterward.
Meanwhile, be careful with how you remove hardware from the walls. Elyse wanted to get rid of the towel rack next to the sink because it was in poor condition. I got most of the hardware off easily, but then the mounting bracket gave me trouble, unscrewing a quarter inch from the wall and going no further. So, thinking that it was stuck in something, I decided to use the brute force method to get it off of the wall. So I put a claw hammer in behind it and used that to pull it out. The good news was that I got it out. The bad news was that I also took a chunk of wall out with it. Whoooooooops. Thank heavens for patches. I just patched that and put joint compound over it, and you would never know that there was a hole there.
And then once the walls were prepared, painting it was pretty straightforward. Elyse and I chose a light blue color called “Moonlight Rendezvous”. First taping:


You can really see in these photos just how much paint we were able to peel off. Yes, the previous paint application was just that bad. But Elyse had tremendous fun peeling all of that paint. And then the painting took no time at all. This was the final result:


I was pleased with this result. I knew that a lighter color would harmonize better with the white tile than that dark blue. I have nothing against dark colors, but when you have white tile covering half of the wall, you need to make sure that things harmonize.
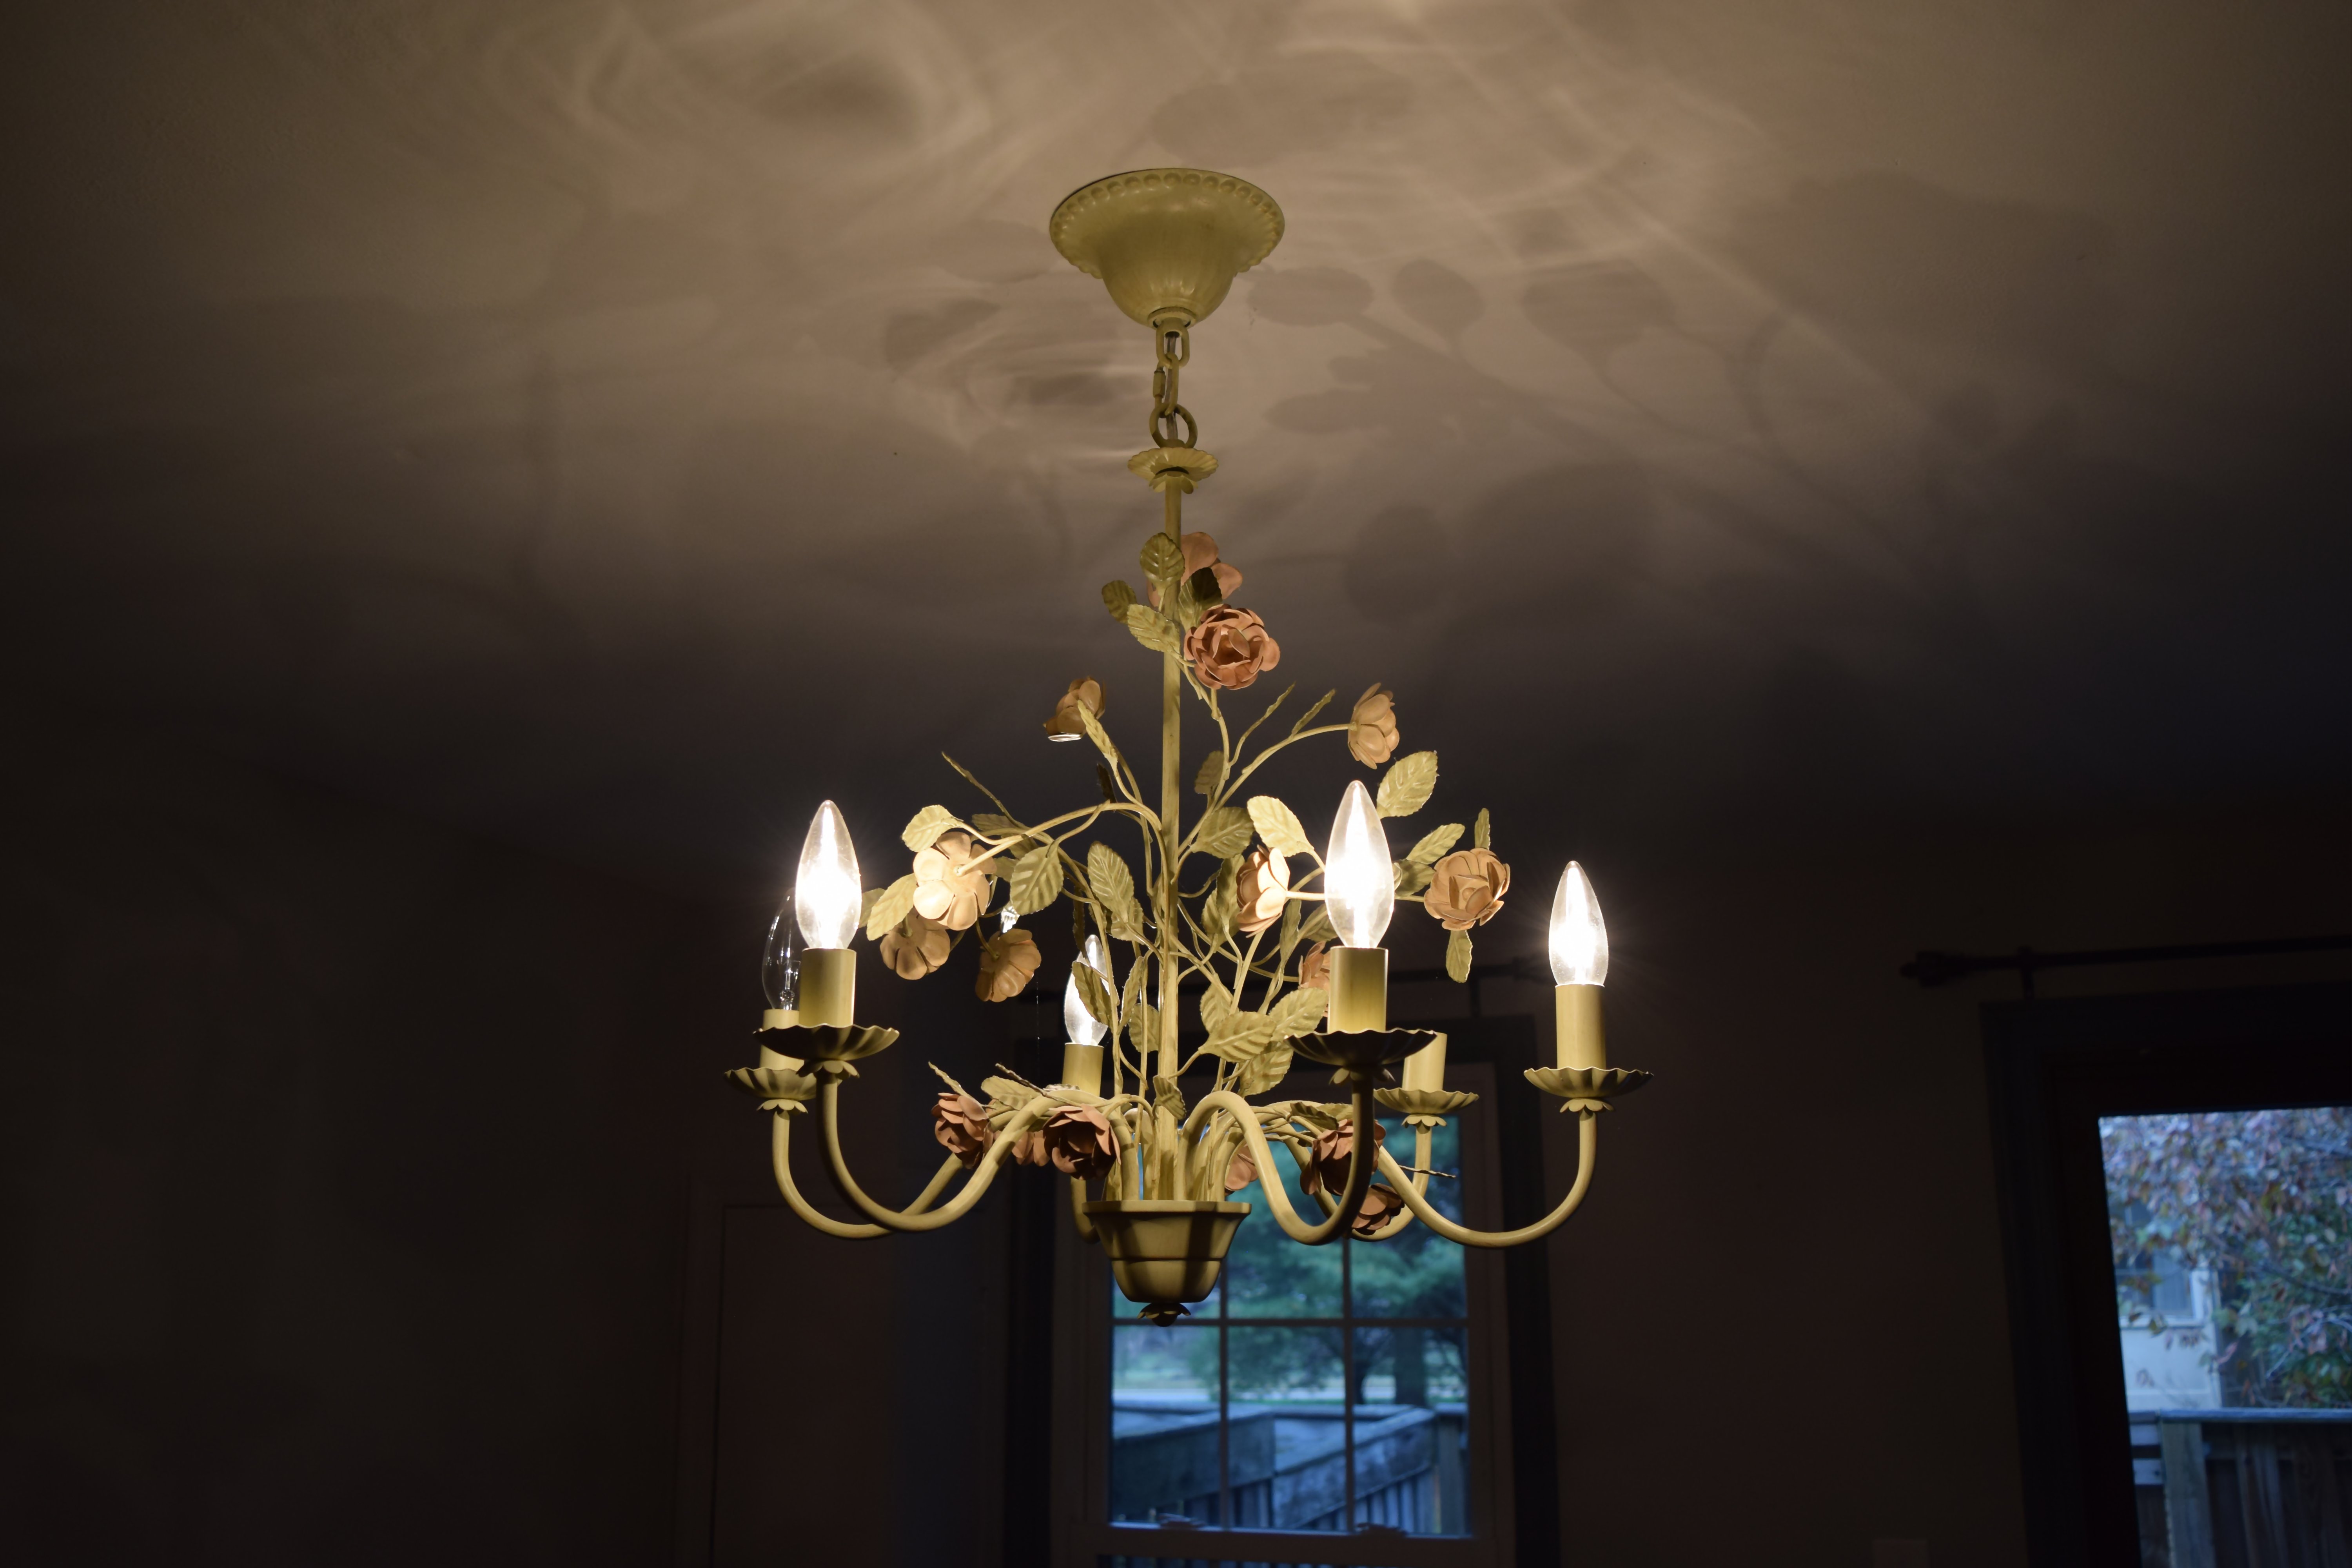
Meanwhile, my next project is Elyse’s bedroom. That ugly chandelier is leaving, being replaced by a ceiling fan, and then it’s also getting new paint, i.e. white trim and whatever color that Elyse picks for the walls. That should be pretty straightforward, though painting all of the trim is going to be a real pain in the butt. But I’m up to the challenge, so I don’t mind.